
Why a DIY Frame Bag is Perfect for Budget-Conscious Bikepackers
Bikepacking is an incredible way to explore the outdoors, but gear costs can add up quickly. One essential piece of equipment is a frame bag, which fits snugly inside your bike’s frame to store tools, snacks, and other essentials. However, high-quality frame bags can cost upwards of $100—a price that might not fit every adventurer’s budget.
The good news? You can make your own DIY frame bag for a fraction of the cost! With basic sewing skills, affordable materials, and a little patience, you can craft a custom bag that fits your bike perfectly. In this guide, we’ll walk you through the entire process, from measuring your frame to sewing the final seams.
Whether you’re a budget bikepacker, a DIY enthusiast, or just looking for a fun project, this step-by-step tutorial will help you create a durable, functional frame bag without breaking the bank.
Why Choose a DIY Frame Bag?
Before diving into the build, let’s explore why a homemade frame bag is a great option:
- Cost-Effective – Save money by using affordable materials instead of buying a pre-made bag.
- Custom Fit – Tailor the bag to your bike’s exact dimensions for optimal storage.
- Eco-Friendly – Repurpose old fabrics or upcycle materials for a sustainable solution.
- Satisfaction of Crafting – There’s pride in using gear you made yourself!
Now, let’s gather the necessary materials and tools.
Materials & Tools You’ll Need
Materials:
- Fabric – Cordura nylon (500D or 1000D) is durable and water-resistant. Alternatively, use ripstop nylon or upcycled materials like old backpacks.
- Lining Fabric – Lightweight nylon or mesh for internal pockets (optional).
- Zipper – A waterproof or heavy-duty zipper (length depends on your design).
- Velcro Straps or Hook-and-Loop Fasteners – To secure the bag to the frame.
- Bias Tape or Edge Binding – For clean, reinforced edges.
- Thread – Heavy-duty polyester or nylon thread for durability.
Tools:
- Sewing Machine – A heavy-duty model works best for thick fabrics.
- Scissors or Rotary Cutter – For precise fabric cutting.
- Measuring Tape & Ruler
- Chalk or Fabric Marker – For marking measurements.
- Pins or Clips – To hold fabric in place while sewing.
- Iron – For pressing seams (optional but helpful).
Step 1: Measure Your Bike Frame
A well-fitting frame bag maximizes storage while ensuring it doesn’t interfere with pedaling or cables. Here’s how to measure:
- Determine Placement – Decide if you want a full-frame bag (occupying the entire triangle) or a half-frame bag (smaller, leaving room for water bottles).
- Measure Length & Width – Use a flexible measuring tape to note:
- Top Tube Length (from head tube to seat tube)
- Down Tube Length (from head tube to bottom bracket)
- Seat Tube Length (from bottom bracket to seat post clamp)
- Account for Clearance – Leave at least 5-10mm of space around cables, bottle cages, and other components.
Pro Tip: Create a cardboard template to test the fit before cutting fabric.
Step 2: Design Your Frame Bag
Now, sketch your bag’s design based on your measurements. Consider:
- Single or Double Zipper? – A single zipper is simpler; a double zipper allows access from both sides.
- Internal Pockets? – Add small compartments for tools or snacks.
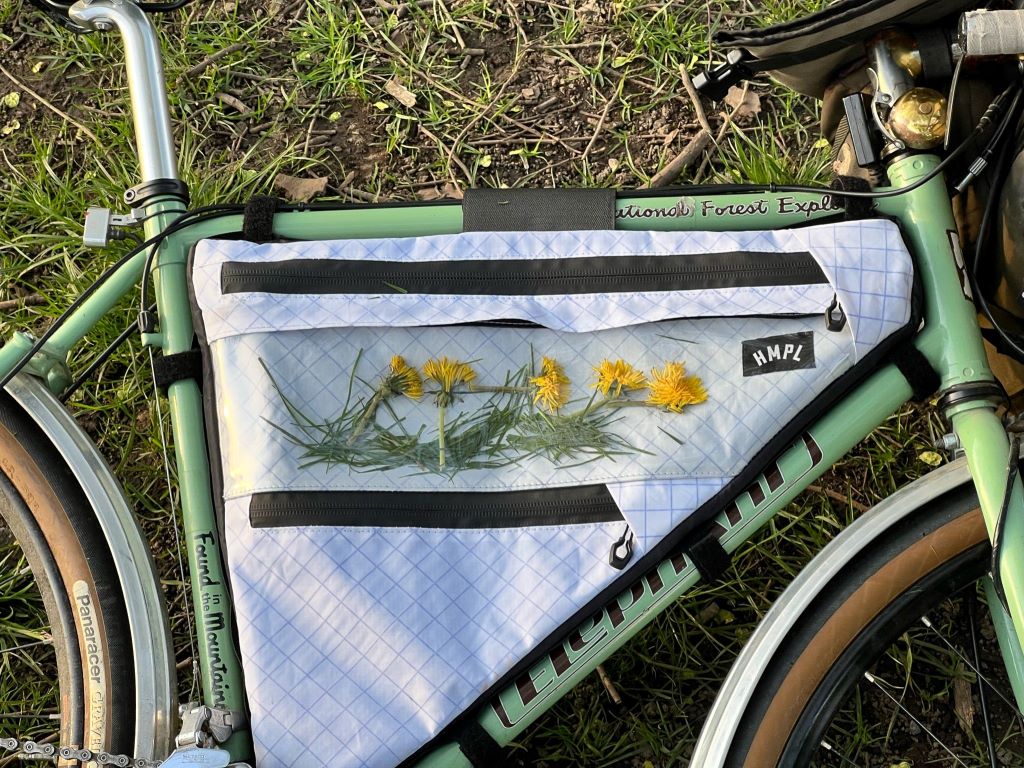
- Shape – Most frame bags are trapezoidal to fit snugly inside the frame.
Step 3: Cut the Fabric
- Transfer Measurements – Mark the fabric with chalk or a fabric pen.
- Cut Two Main Panels – These form the front and back of the bag.
- Cut Side Panels (if needed) – Some designs use side gussets for extra depth.
Fabric-Saving Hack: If using upcycled materials, piece together sections to fit your pattern.
Step 4: Sew the Main Compartment
- Attach the Zipper – Pin the zipper between the main panels and sew carefully.
- Sew the Sides – If using a gusset, attach it to the main panels.
- Reinforce Stress Points – Double-stitch areas that will bear weight.
Step 5: Add Attachment Straps
To secure the bag to your bike:
- Sew Velcro Straps – Place them at key points (near the head tube, seat tube, and down tube).
- Test Fit – Ensure the bag stays in place while riding.
Step 6: Weatherproofing (Optional)
For extra protection:
- Apply seam sealant to stitching.
- Use waterproof zippers or add a flap over the zipper.
Final Fitting & Adjustments
Before hitting the trail:
- Load the bag to test weight distribution.
- Check for any rubbing against cables or legs.
Conclusion: Hit the Trail with Your DIY Frame Bag!
Creating a DIY bikepacking frame bag is a rewarding project that saves money and delivers a custom-fit solution. With basic sewing skills and affordable materials, you can craft a durable, functional bag tailored to your bike.
Related Topics:
The Perfect Gift for Kids Who Love Animals
Study reveals that car hire costs have fallen worldwide